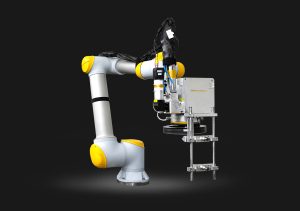
Cobots or collaborative robots are workers’ companions in elevating a firm’s productivity. They can take over hazardous, tedious, and repetitive tasks while working safely next to human operators. And with their superior speed and accuracy, cobots can do tasks at least two times faster than humans, which results in shorter turnaround times and lower operating costs.
Like all robotic machines, cobots work because a series of instructions is provided to guide their actions. The process of laying out these instructions is known as cobot programming.
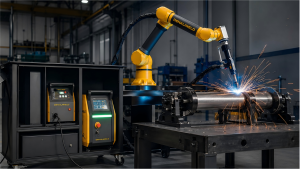
In this article, we discuss in detail how cobot programming works. Get to know how this process powers cobots currently applied in industrial applications such as metal welding.
Your First Steps: Turning On and Logging In
A simple setup is required to initiate a cobot’s operation. Press the “Start” button and let the system sync its current parameters (typically, these parameters are predetermined by the manufacturer). Once the cobot is done booting, enter the unit’s default credentials as provided by the manufacturer.
Depending on the unit, cobots have “signal lights” that indicate the cobot’s status. For instance, a cobot with its lights showing green might indicate that the system stands ready. When the lights are orange, it usually means that it is gradually booting up. Then, red-colored lights often hint at technical issues that require fixing.
The next step is to figure out how to “connect” to the cobot. Identify what medium you must use to control the cobot. Most cobots support “teach pendants” or handheld controllers with a screen and buttons. You can plug the teach pendant into the robot’s main port (usually labeled and easy to find). Then, the screen shows an intuitive menu for moving the robot, recording positions, and starting programs. You hold the pendant and control the cobot directly, just like using a television remote.
Some cobots (particularly cobot welders) have their own Wi-Fi network. The operator can connect to the cobot’s network and use a web dashboard that lets them modify the cobot’s actions and functions. The dashboard also indicates the cobot’s status (i.e., ready, busy, or needs attention) and current parameter specifications.
Easy Cobot Programming: Drag and Drop Basics
When people speak of “programming”, we usually think of encoding strings of code. This process can be extremely daunting and thought-intensive because the codes follow a strict programming language rule with a native logical system.
But most cobots today can “learn” how to perform tasks even without writing lines of code.
Instead, you use a touch screen or computer to build instructions with graphical blocks, which work like Lego pieces you snap together. Hence, the programming process becomes simple even for beginners.
In most cobots, there are graphical blocks known as the “MoveJ” and “MoveL” blocks.
- MoveJ (Joint Move) blocks: Instructs the cobot to move its arm joints to a new position. Use this to establish quick and flexible movements, such as when moving around obstacles.
- MoveL (Linear) blocks: This guides the cobot’s tool in a straight line from one point to another. Use this option for tasks that require consistency and speed in working with straight lines, such as when welding a straight seam.
Meanwhile, to teach “positionings” to your cobot, you do it through a “hands-on” demonstration. You hold the robot arm and move it to your desired spot. When you reach the right place, press “Record Current” on the screen. The cobot saves this position as a waypoint for its future tasks. You can record as many waypoints as needed for your project.
As with “regular” programming, a cobot programming language usually features blocks that encapsulate logical rules. You can add logic blocks, such as “If-then” loops, if you want the cobot to perform specific tasks under certain conditions. For instance, if the cobot detects a partially rougher or thicker portion of the workpiece, you can instruct it to increase its heat input.
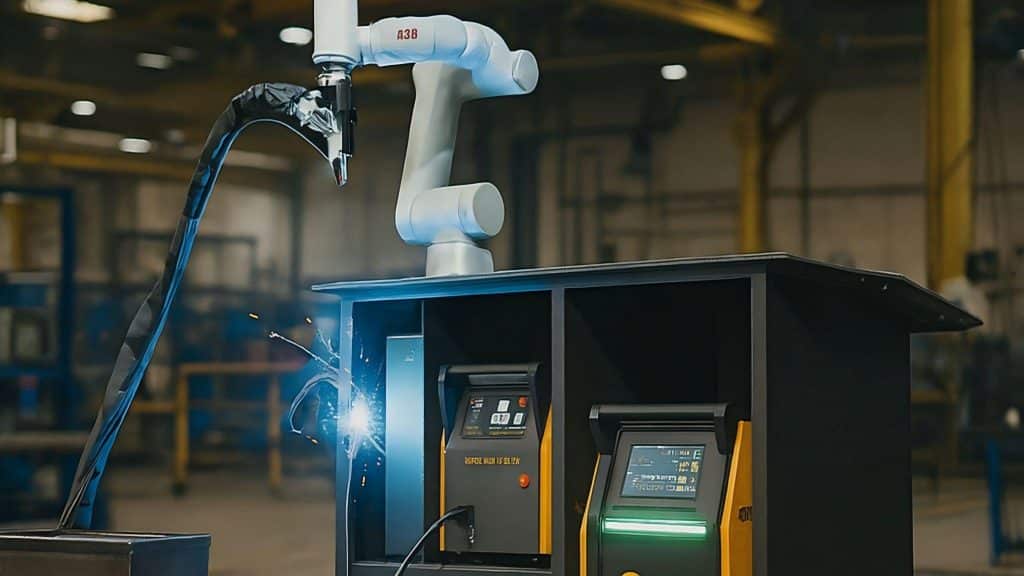
Welding Cobot Programming Made Simple
Through a straightforward, step-by-step process, you can program your welding cobot to perform certain tasks.
Step 1: Teach the cobot the most essential positions. These include the “Approach Point” or the safe spot above the workpiece. The cobot moves here first to avoid hitting anything. Focus as well on teaching the “Action Point” or the exact spot at which the welding starts. Make sure to record these spots upon teaching your cobot.
Step 2: Specify the appropriate operational speed of the cobot. During set-up, the cobot must move slowly (usually <250mm per second). At a slow speed, you can safely check the cobot’s path. Later on, you can further decrease the speed of the cobot welder if the material is thicker, or increase it if the material is thinner.
Step 3: Build your welding program. This “program” includes “looping” mechanisms that repeat the weld process as many times as needed. The “MoveJ” and “MoveL” blocks must be well-defined, also to ensure that the cobot can approach or exit from any points with ease. And if possible, prior to the actual welding process, use the Cobot’s software to render a 3D preview of the end product and see if it meets your expectations.
Running Your Program and Fixing Goofs
Now that you are done setting up your cobot program, it is time to put it to the test. Hit the cobot’s “Run” button. It must automatically move to its programmed starting position. If the cobot’s arm moves to a place where it should not be, just press and hold the manual “move” button to gently guide it back on track.
As the program begins, wait for the green status light, as this is your signal that everything’s running smoothly. You must see the cobot repeat your instructions in a clean and reliable loop.
Note that errors are typical to happen in the beginning. Do not fret if ever you experience one. Any unwanted changes or specifications can be made in the system as easily as pressing a few buttons. To minimize the occurrence of these mistakes, make it a habit to check your cobot welding parameters at a glance. Most of the cobot’s side panel has intuitive interfaces that show the configurations of the weld speed, focal point, laser strength, and other relevant parameters.
Now, if your cobot is not moving where you expected, check the waypoints you have set. Sometimes a position gets recorded with the arm in the wrong place during your teaching session. To address this issue, you may guide the robot to the right spot and hit “Record Current” again, then double-check in the 3D preview to make sure the path looks correct or as desired.
If the cobot programming fails to loop or stops too soon as intended, it is almost always caused by a small error in your logic blocks. Perhaps the repeat number in one of the blocks is off or missing. To fix this problem, open the program and walk through again each step. Be meticulous and look for any errors in the configuration or setup of your blocks.
Develop Your Own High-Performing Collaborative Robot With an Easy Cobot Programming Procedure
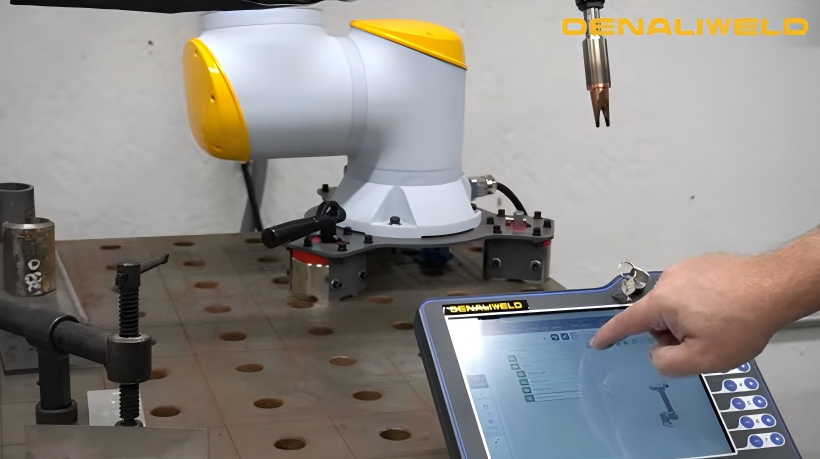
Setting up a collaborative robot for your welding projects is not rocket science. A lot of cobot manufacturers have developed easy and intuitive methods to develop a cobot customized for specific welding operations. It is now possible to perform cobot programming without the daunting complexity of ultra-technical programming languages.
Denaliweld offers premier laser welding cobots for modern industries such as automotive, aerospace, electronics, general fabrication, and medical equipment production. Our brand developed a user-friendly graphical cobot programming that simplifies welding via safe mechanics, intuitive blocks, and convenient navigation controls.